


Our Topics
Subscribe Us
Subscribe to our newsletter and receive a selection of cool articles every weeks
MD2 Fume Extractor: Why It Matters


MD2 Fume Extractor User Guide|Why It’s Almost Essential for Laser Engraving
During laser engraving and cutting, many beginners focus heavily on power, speed, and material settings, while overlooking a component that has a long-term impact on machine lifespan, user experience, and even personal health — the fume extraction system.
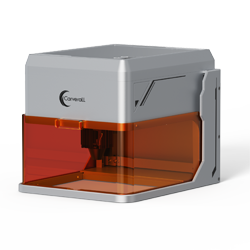
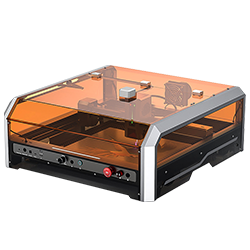
The MD2 Fume Extractor is specifically designed for desktop laser engraving machines such as the K15 PRO. In this article, we will provide an in-depth and practical explanation covering its working principle, installation, daily use, the consequences of not using it, and the real improvements you’ll notice after adding it to your setup.
1. What Does the MD2 Fume Extractor Actually Do?

- ✅ Actively removing smoke generated during laser engraving
- ✅ Filtering harmful particles and unpleasant odors
- ✅ Preventing smoke from flowing back onto the workpiece and optics
- ✅ Significantly improving indoor air quality
In simple terms:
If a honeycomb bed keeps the bottom of your work clean, the MD2 fume extractor keeps the air clean.
If a honeycomb bed keeps the bottom of your work clean, the MD2 fume extractor keeps the air clean.
2. What Is Actually Produced During Laser Engraving?
- Wood / Plywood: tar-like smoke and fine particles
- Leather: strong odors and volatile organic compounds
- Acrylic: highly irritating fumes
- Coated materials: potentially hazardous chemical gases
⚠️ If these fumes are not properly removed, they will:
enter your lungs, settle on the laser lens, and accumulate inside the machine.
enter your lungs, settle on the laser lens, and accumulate inside the machine.
3. What Happens If You Don’t Use an MD2 Fume Extractor?
❌ Without MD2
- Smoke circulates repeatedly inside the workspace
- Engraved surfaces turn yellow or dark
- Lenses get dirty faster, reducing laser power
- The room smells strong and uncomfortable
- Long-term impact on respiratory health
✅ With MD2
- Smoke is extracted quickly with no backflow
- Cleaner engraving edges
- Lenses stay clean, performance remains stable
- Noticeably better indoor air quality
- Ideal for home and studio environments
4. Correct Installation and Usage Steps

- Place the MD2 fume extractor near the laser engraver
- Connect the exhaust hose securely
- Attach the other end to the engraver’s exhaust port
- Plug in and turn on the MD2
- Start the laser engraving process
💡 Recommendation:
Turn on the MD2 → Start engraving → Let it run for 1–2 minutes after engraving finishes to remove any remaining smoke.
Turn on the MD2 → Start engraving → Let it run for 1–2 minutes after engraving finishes to remove any remaining smoke.
5. Real User Feedback
👉 Click to view real user feedback- “The smell never fully disappears from the room.”
- “Acrylic engraving fumes are extremely irritating.”
- “I have to clean the lens more and more often.”
- “My family doesn’t allow indoor use anymore.”
✅ The most noticeable change after using the MD2:
You’ll feel more comfortable and confident using your laser engraver more often.
You’ll feel more comfortable and confident using your laser engraver more often.
6. Who Is the MD2 Fume Extractor Best For?
- 🏠 Home and apartment users
- 🧑🎨 Studios and small businesses
- 📦 Frequent wood, leather, or acrylic engraving
- 🔧 Users who want to reduce machine maintenance
If the laser engraver determines what you can create, the MD2 fume extractor determines how comfortably and how long you can keep creating.


Comments
No comments
Leave a comment
Your Email Address Will Not Be Published. Required Fields Are Marked *
0 comments